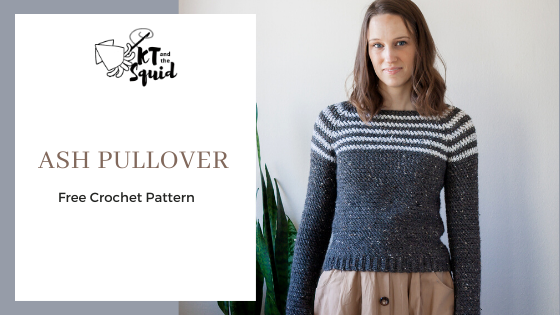
I loved how quick this Ash Pullover Free Sweater Crochet Pattern crocheted up. Since it’s a simple top down sweater once you get going its an easy project to finish. There’s no seaming or to much finishing touches that need to be done. I also really like how customizable it is. I made my sample with a simple striped yoke. I love how it looks on me but honestly, if you’re more on the busty side I’d recommend a solid color if you’re not wanting to accentuate that. You can also easily add length to the sleeves or body just by working more rounds.
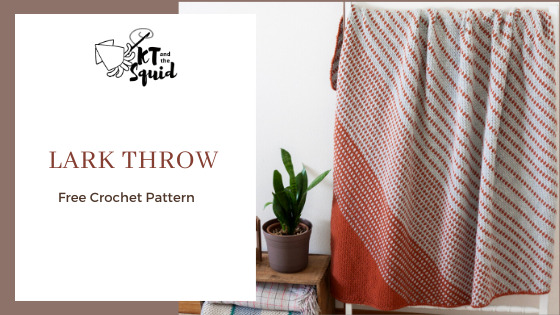
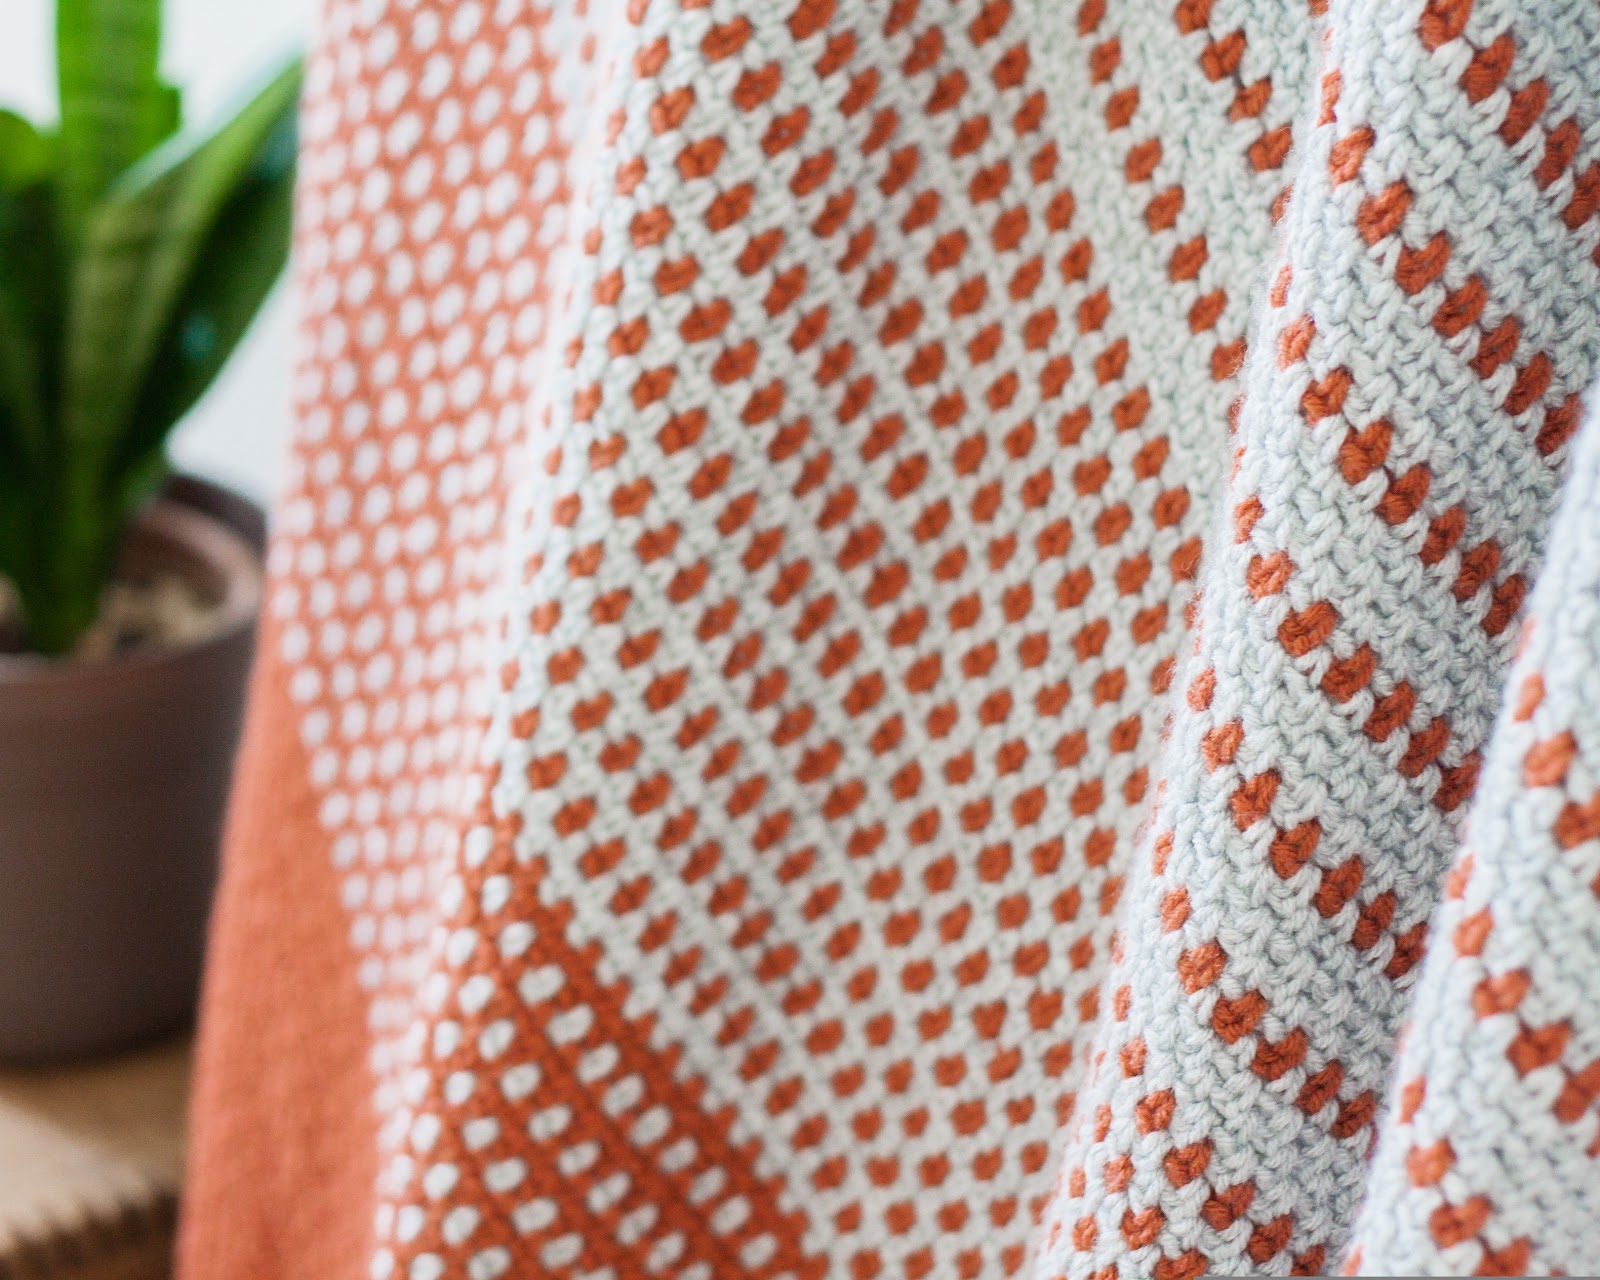
I love a good easy corner to corner crochet blanket pattern. They’re great to sit back and watch a favorite show because you don’t have to think too much with the Lark Throw Free Crochet Blanket Pattern. Plus when they get big enough they keep your lap warm while you crochet. The Lark Throw Crochet pattern was designed with a fun color striping. The great thing is I worked it out so you don’t have to fasten off (except when adding a new skein) which means NO ends to weave in! I have weaving in ends, haha. Of course you don’t have to follow the stripe pattern. You can follow the stitch pattern and add your own stripes or none. The possibilities are endless!
Scroll down to view this pattern for free or you can purchase a printable PDF to view without ads.
We Crochet Brava(100% premium acrylic; 218yds/100g; worsted weight)
9 balls color A: Dove Heather – SKU: 28428
4 balls color B: Persimmon – SKU: 28444
Hook
I/5.5 mm hook (or hook to obtain gauge)
I used my Radiant hook from We Crochet which I love! It’s light weight and feels good in my hand. If you want to try these hooks I suggest the Mosaic set. The different colors help you keep track of sizes.
Notes This throw will be worked from corner to corn in a diagonal fashion. The size of this throw can easily be adjusted by working more rows of the increase to make it larger (or less to make it smaller). Keep in mind this will change the yardage needed
Gauge
16 st by 15 rows in pattern = 4” square (blocked)
Gauge Pattern
Ch an odd number
Row 1: sc in the 2nd ch from hook, *ch 1, skip 1 ch, sc in the next ch; repeat from * until 1 ch remains, sc in the last ch.
Row 2: ch 1, turn, sc in the 1st, *ch 1, sc in the next ch-1 space; repeat from * to the last ch-1 space, sc in the last sc.
Repeat row 2 to desired length
Stripe instructions: To avoid fastening off this pattern has been written using an extra skein color A (A2) and an extra skein of color B (B2). When changing color do not fasten off, work to the last step of the last stitch of the row, finish the stitch with the new color. You can hide the floats by working over them in the first ch of the new row but the floats will be hidden by the trim so it’s not necessary.
Stripe Pattern
Increase: (2 rows color A, 1 row color B, 2 rows color A2, 1 row color B) 10 times, (4 rows color A, 1 row color B, 4 rows color A2, 1 row color B) 6 times, (6 rows color A, 1 row color B, 6 rows color A2, 1 row color B) 2 times.
Decrease: (4 rows color A, 1 row color B, 4 rows color A2, 1 row color B) 4 times, (2 rows color A, 1 row color B, 2 rows color A2, 1 row color B) 6 times, 1 row B, 1 row A, (2 rows color B2, 1 row color A, 2 rows color B) 4 times, finish pattern in color B.
Instructions
Increase Rows
With color A ch 3.
Row 1 – Sc in 3rd ch from hook, turn. -1 sc
Rows 2 – Ch 3, (sc, ch 1, sc) in the ch-3 space of the previous row, turn. -2 sc
Row 3 – Ch 3, sc in the next ch-1 space, ch 1, (sc, ch 1, sc) in the ch-3 space, turn. -3 sc
Row 4 – Ch 3, (sc, ch 1) in each ch-1 space, (sc, ch 1, sc) in the ch-3 space, turn. -4 sc
Repeat row 4 until you have 148 rows following the stripe pattern. Each row will add 1 sc.
Decrease Rows
Row 1 – Ch 3, (sc, ch 1) in each ch-1 space, (2 sc) in the ch-3 space, turn. -148 sc
Row 2 – Ch 2, (sc, ch 1) in each ch-1 space until 1 ch-1 space remains, sc in the last ch-1 space, sc in the ch-3 space, turn. -147 sc
Row 3 – Ch 2, (sc, ch 1) in each ch-1 space until 1 ch-1 space remains, sc in the last ch-1 space, sc in the ch-2 space, turn. -146sc
Repeat row 3 until there are only 3 sc
Ch 2, sc in the next ch-1 space, sc in the ch-2 space, turn
Ch 1, sc in the ch-2 space.
Finishing
Ch 1, evenly sc around the entire blanket adding 3 sc to each corner, join to the first sc. Fasten off.
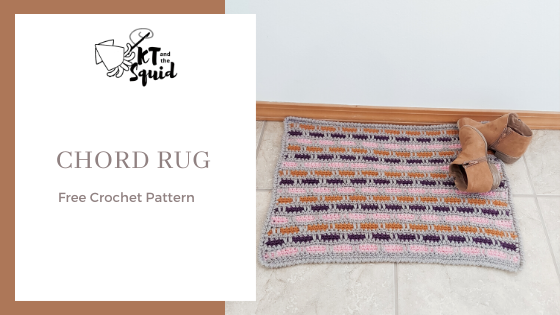
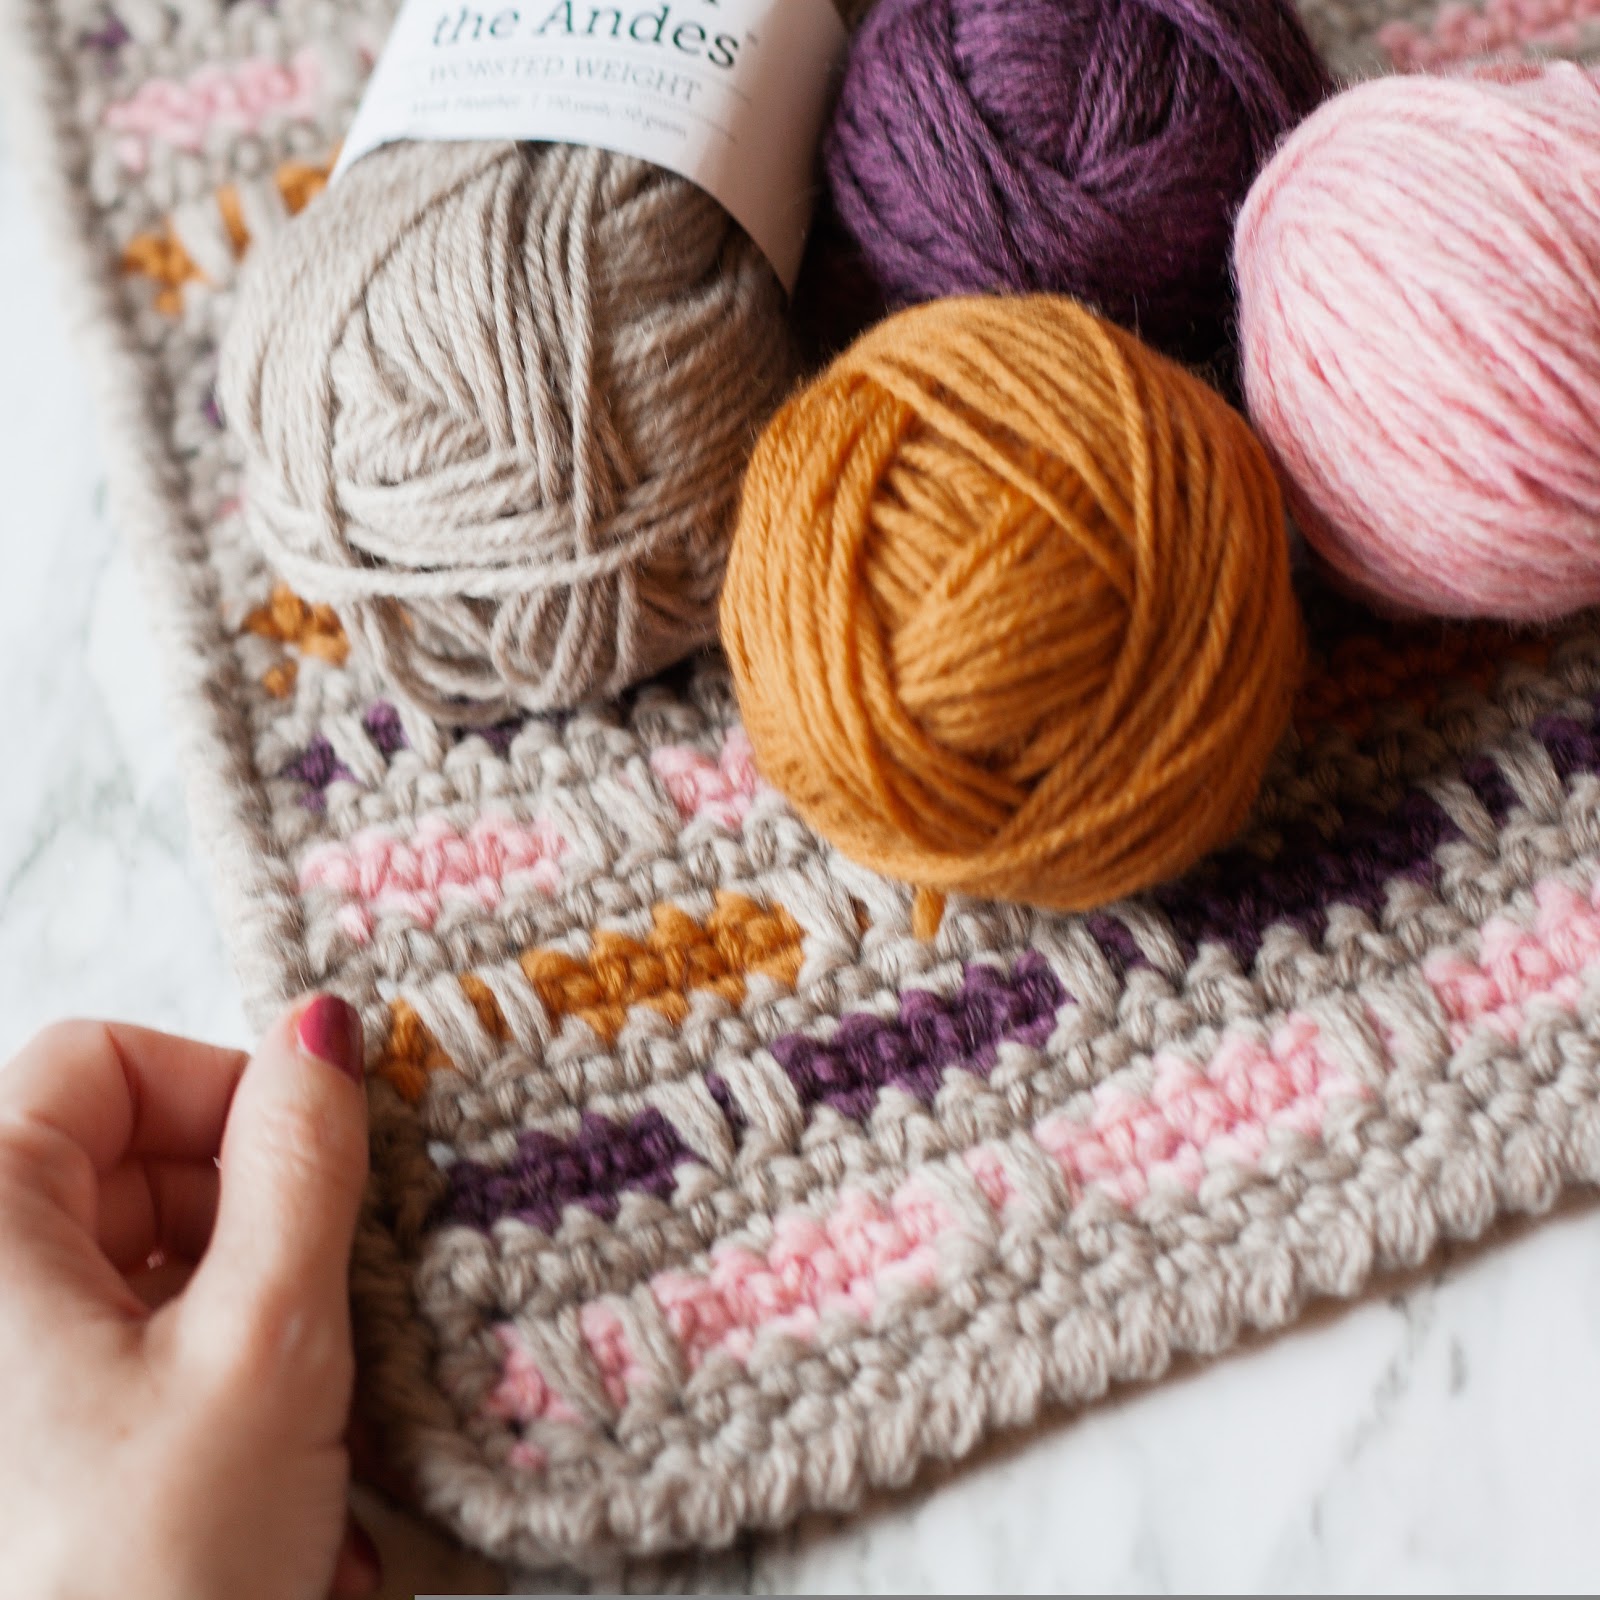
The Chord Rug is a free crochet pattern that uses easy stitches and a fun stitch pattern. This rug is the perfect size to use under your dog or cat’s food dishes. I used 4 colors of Wool of the Andes from We Crochet. They have so many colors to choose from you’ll have a blast coming up with your own color combination. View the patter for free on this page or purchase the PDF from my Etsy shop. Enjoy!
• For this rug you will be holding two strands of yarn together.
• If you’d like to make this rug a different size start by chaining a multiple of 6 plus 5 and adding any multiple of 2 rows.
Gauge
11 sc by 14 rows in pattern = 4” square (blocked)
Abbreviations
Ch = chain
St = stitch
Sc = single crochet
Sc spike= single crochet spike
Rev sc= reverse single crochet
Special Stitches
Single Crochet Spike (sc spike): Insert hook into next st 3 rows below and pull up a loop, yo and pull through all loops on the hook.
Reverse Single Crochet (rev sc): Insert hook back into previous st (to the right), yo, pull up loop twisting hook around to face upward, yo, pull through sts on hook.
Stripe Pattern: *1 row color A, 2 rows color B, 2 rows color A, 2 rows color C, 2 rows color A, 2 rows color D, 1 row color A; repeat from * 4 more times for a total of 60 rows.
Chord Rug Free Crochet Pattern Instructions
With color A ch 59
Row 1 – sc in 2nd ch from hk and each ch across, turn (58).
Rows 2-3 – Change to color B, ch 1, sc in each sc across, turn. (58)
Row 4 – Change to color A, Ch 1, sc in 1st sc, *sc spike over next 2 sc, sc in next 4; repeat from * to last 3 sts, sc spike over next 2 sc, sc in last sc, turn. (58)
Row 5 – Ch 1, sc in each sc across, turn. (58)
Row 6-7 – Change to color C, repeat rows 2 and 3.
Row 8 – Change to color A, ch 1 *sc in next 4 sc, sc spike over next 2 sc; repeat from * to last 4 sts, sc in last 4 sc, turn. (58).
Repeat rows 1-8, 6 more times remembering to continue in the stripe pattern.
Repeat rows 1-4 one more time for a total of 60 rows.
Finishing
You will now be working around the entire rug starting down the side, across the bottom, up the other side and across the top.
Rnd 1 – With color A sc in the end of each row, 3 sc in corner, sc in each ch across the bottom, 3 sc in corner, sc in the end of each row, 3 sc in corner, sc in each sc, 3 sc in corner, join with a slip st, do not turn.
Rnd 2 – Ch 1, Rev sc in each sc around, join with a slip st, fasten off, weave in all ends.
You will want to place a rug gripper pad under the rug to keep it from sliding
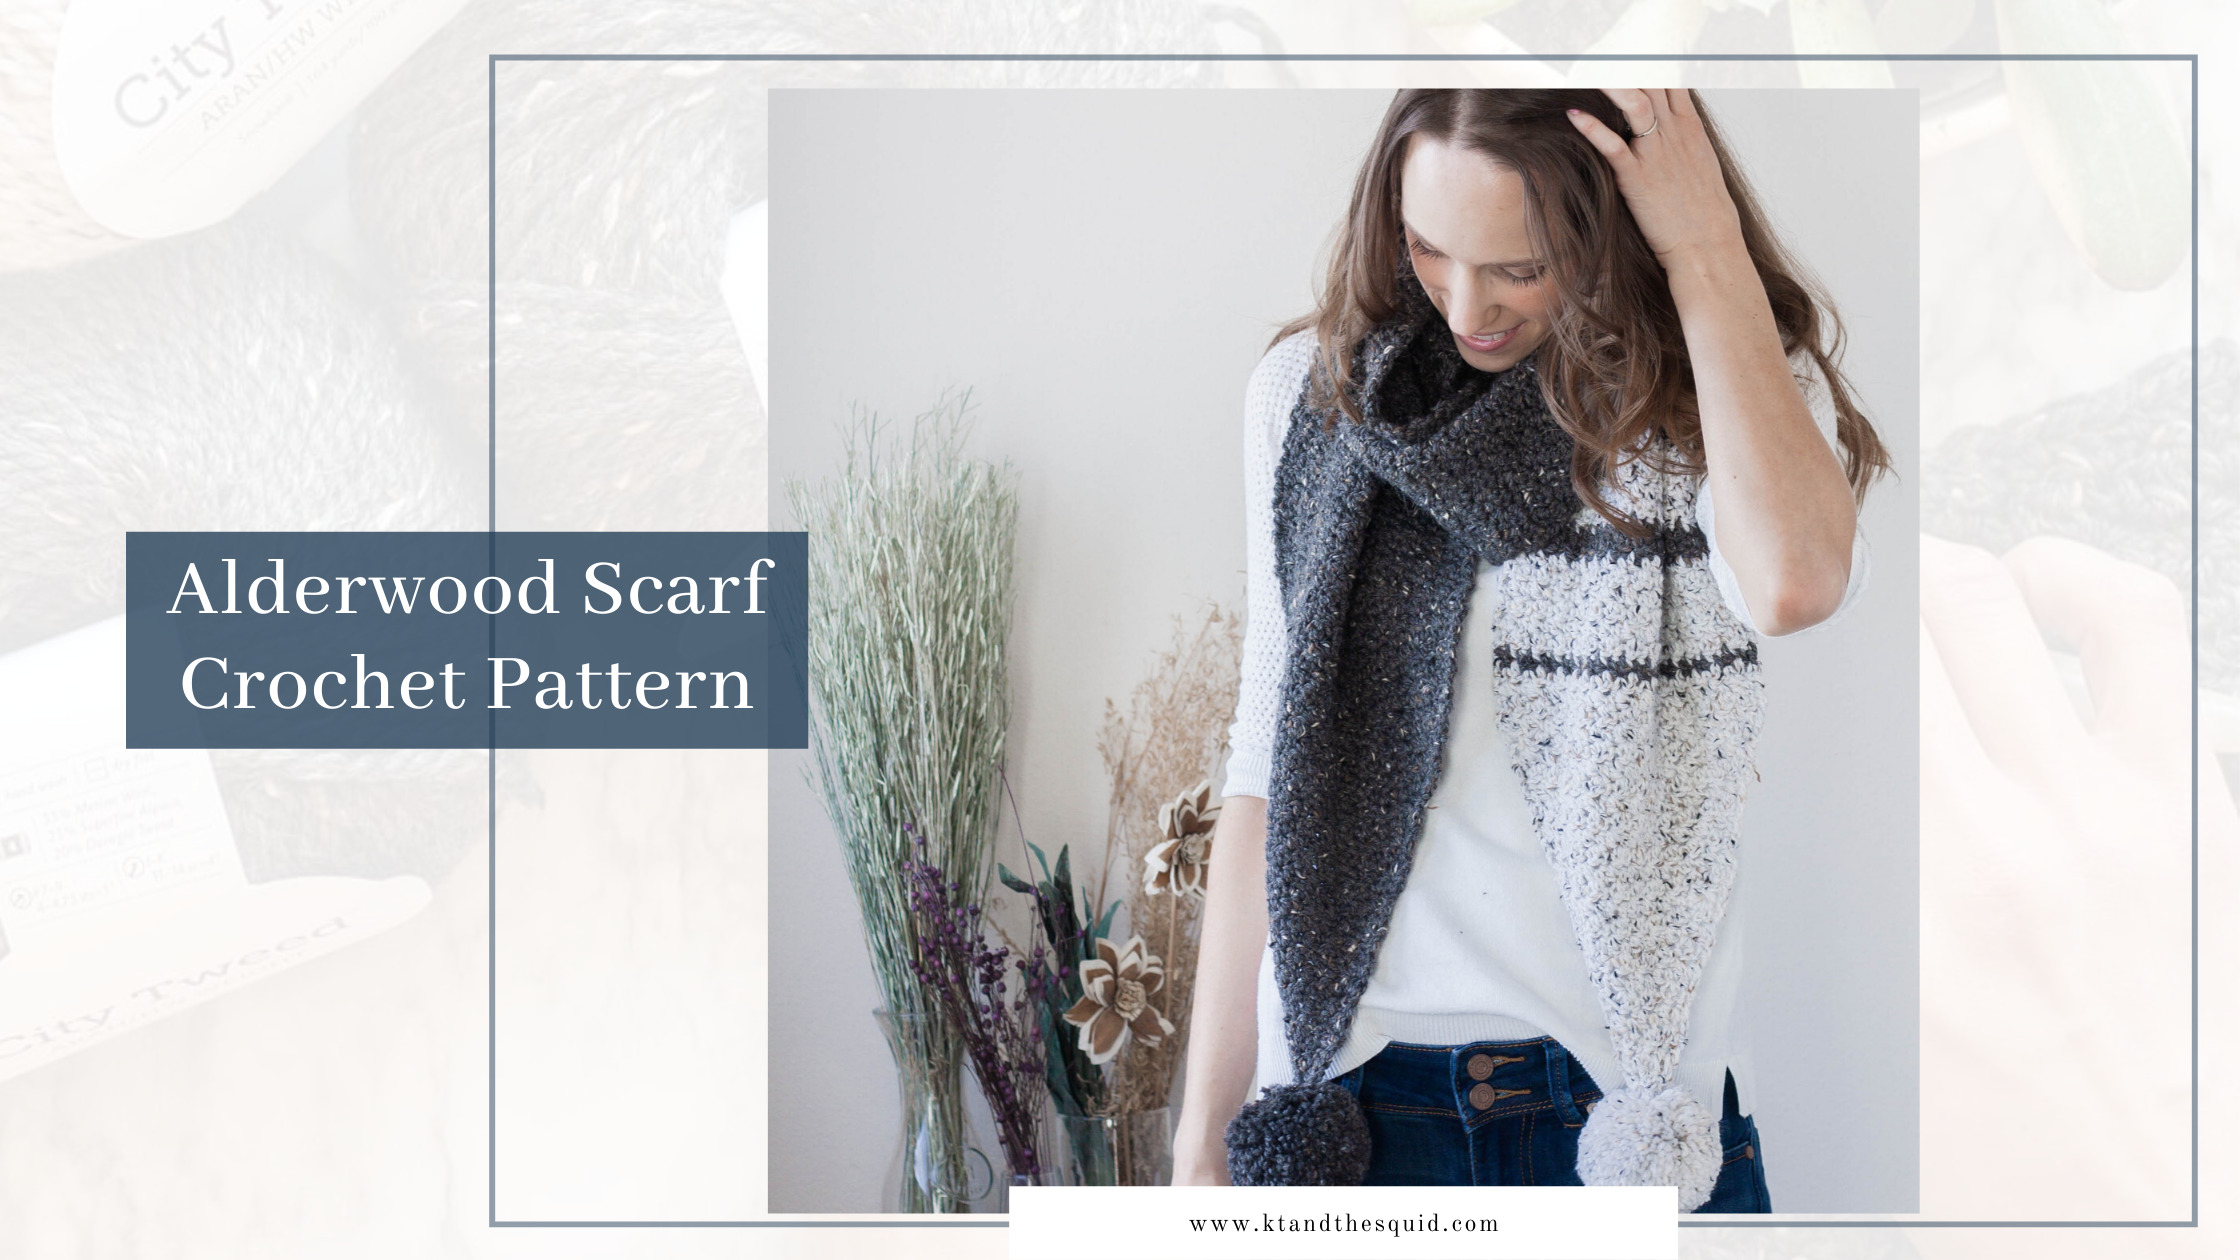
If you can single crochet, double crochet and make a pom pom you can make the Alderwood Scarf Free Crochet Pattern scarf! Simple increases and decreases create a flattering shape to this piece.
I designed this scarf back in 2018 using self striping yarn (and it was beautiful!) I recently decided to revisit this design but a little more with some different yarn
My first sample is made in City Tweed by We Crochet. The main color is Orca with some Snowshoe blended in on one end. I think the additional color adds a little fun pop.
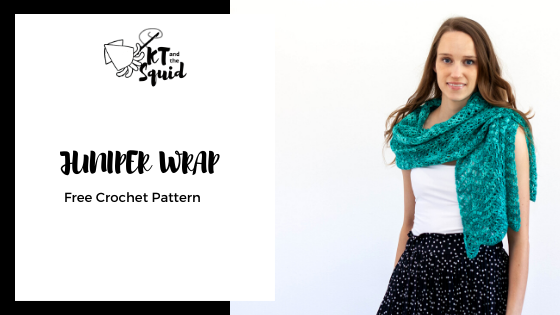
The Juniper Wrap is a free crochet pattern that works up beautifully in 2 ply fingering yarn such as Hawthorne. This wrap features alternating sections of puffs and open stitches which really shine with this yarn. Using a larger hook also helps this project go extremely fast!
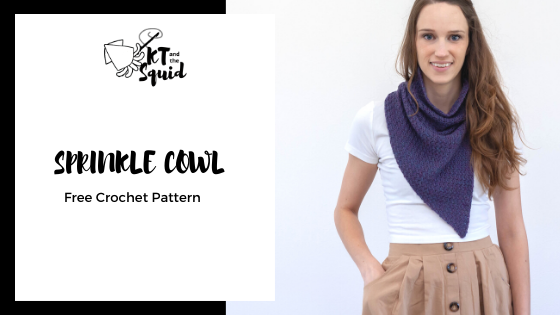
The Sprinkle Cowl is a free crochet pattern that’s deceivingly simple to make with its textured stitches and unique asymmetrical design. A fantastic beginner pattern, the cowl is worked flat with repetitive stitches that makes for a relaxing project to work on. Styling your Sprinkles Cowl over your favorite top will make for a stylish accessory while keeping your comfortable on cooler days.
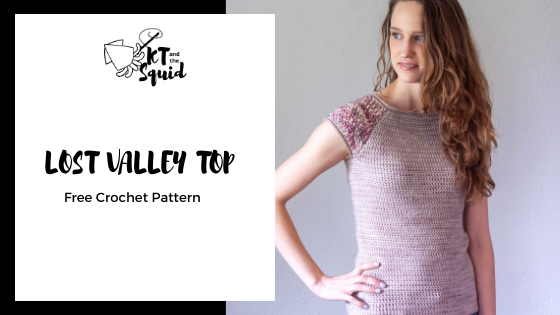
The Lost Valley Top Free Crochet Pattern is a free crochet pattern great for warmer months. The pattern is rated intermediate. The shaping is simple but the uncommon stitch (which is easy to pick up) bumps up the skill level. It’s constructed from the top down with seams at the sleeves. The seams add stability and also allow you to play with color by making the sleeves a different color from the rest of the sweater.
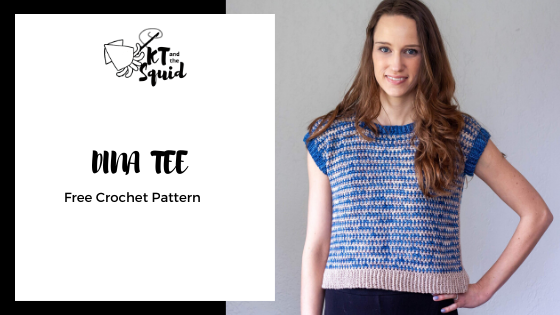
The Dina Tee Free Crochet Pattern is a light weight crop top that would look great on a variety of body types. I love to style tops like these with high waist skirts or bottoms.
This tee is rated at an easy skill level. You will need to know how to chain, single crochet, slip stitch and how to work in the back loop. The tee is worked in two pieces (front and back) and seamed up the side with a no sew seam.
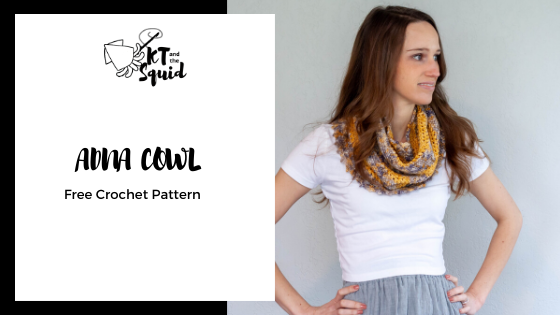
The Adna Cowl is a free crochet pattern. This cowl starts off like a circular shawl and then is worked in the round to make it a cowl. I really like that these cowls take surprisingly little yarn but they looks very full. All the fabric is in the front which also makes them more comfortable to wear. It gives you the look of a shawl without having to deal with the ends.
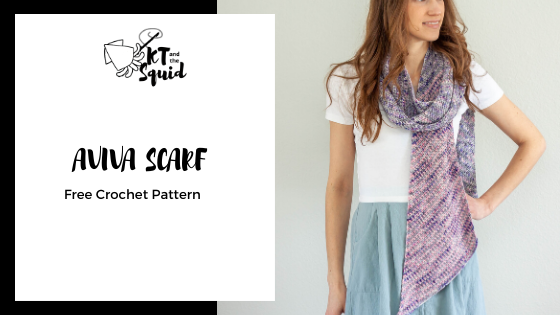
The Aviva Scarf is a free crochet pattern featuring colorways from my Aviva Collection. This scarf is easy enough for a beginner and light weight which makes it perfect to wear into Spring.